If you’re planning to build Android apps, you’ve probably heard the name Android Studio. But what is Android Studio, really? If that question brought you here, you’re in the right place.
In this guide, you will learn everything you need to know about Android Studio — from what it is to how it works and why it’s considered the go-to tool for Android app development. This article is designed for beginners like you who want a clear understanding without all the technical jargon.
Android Studio is the official Integrated Development Environment (IDE) provided by Google. It’s specially made for Android developers to design, build, test, and run apps on Android devices. Whether you are starting your journey into mobile development or are just curious about the tool, this guide will walk you through all the essentials.
What is Android Studio?
You might be wondering, what is the Android Studio app? This is a common question, and it’s important to clear up the confusion.
Android Studio is not a mobile app that you download from the Play Store. It’s a software program that runs on your computer. You use it to create Android apps, but it is not an app that you use on your phone or tablet.
Think of it like this: if Android apps are the final product, then Android Studio is the workshop where those products are made. You install Android Studio on your PC or laptop, and then you use it to write code, design screens, test features, and build APK files, which are the actual Android apps that people download and install on their phones.
So when someone searches for what is Android Studio app is, they’re usually mixing up the tool with the thing it creates. Android Studio is a tool used by developers. It is powerful, but it’s not something you can run on a mobile device. It works only on desktop operating systems like Windows, macOS, or Linux.
In short, Android Studio is a development tool, not an app that you use on your phone. It helps you build real Android apps that can be published and shared with users around the world.
Highlight the Key Features of Android Studio
If you’re searching for what is Android Studio highlight the key features, then this part will give you a clear and simple overview. Android Studio comes with several built-in tools that make app development faster and easier, especially for beginners.
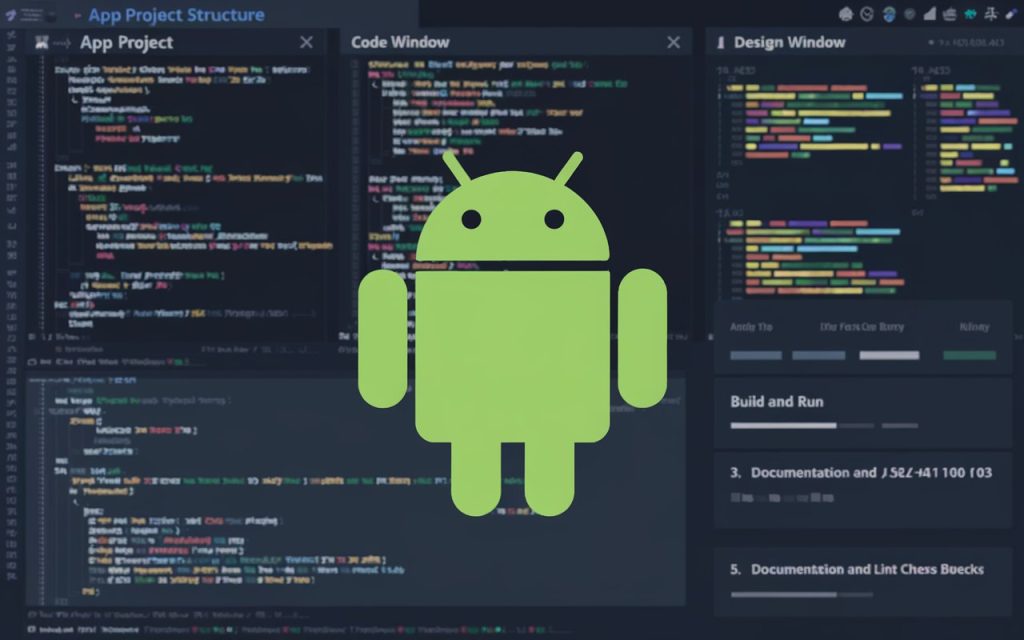
One of the most useful features is the intelligent code editor. It helps you write clean and correct code by giving real-time suggestions. As you type, it shows you hints, auto-completes your code, and even alerts you about mistakes. This feature saves you time and helps you avoid small errors that can cause bigger problems later.
Next is the layout editor with drag and drop. Designing the user interface becomes much simpler with this tool. You don’t need to write a lot of XML code to design your app screens. Instead, you can drag buttons, images, and text fields directly onto the screen and place them where you want. It also gives you a live preview so you can see how your design will look on different devices.
Another key tool is the Android Emulator. This allows you to test your app without needing a physical phone. You can simulate different Android devices, screen sizes, and even network conditions. It’s a quick way to check how your app performs before testing it on a real device.
Android Studio also includes real-time profiling tools. These tools help you monitor how your app uses memory, CPU, and network resources while it runs. You can track performance issues and fix anything that might slow down your app or cause it to crash.
These features all work together to give you a complete development experience. Whether you’re writing code, designing screens, or testing performance, Android Studio offers everything you need in one place. It makes app development more efficient, more organized, and less stressful.
Understanding Gradle in Android Studio
When you start working with Android Studio, you’ll quickly encounter Gradle, a key component of the Android development process. But what exactly is Gradle, and why is it so important?
Gradle is the build system used by Android Studio. It is a powerful tool that automates the process of compiling, testing, and packaging your Android apps. In simpler terms, Gradle helps you manage the entire build process, ensuring that everything is compiled and packaged correctly when you’re ready to release your app. Without Gradle, the process of turning your code into a fully functioning Android app would be much more complex and time-consuming.
One of Gradle’s main strengths lies in its ability to manage dependencies. Dependencies are external libraries or components that your project needs to function properly. For example, you might want to use a third-party library for handling image loading or network requests. Gradle allows you to easily add these dependencies to your project, automatically downloading them and ensuring they are correctly included in your app. This helps streamline your development process and saves you time that would otherwise be spent managing each dependency manually.
Gradle also handles build automation, meaning it can automatically perform tasks like compiling your code, running tests, and packaging your app into an APK or AAB for distribution. This automation reduces human error and makes it easier to maintain consistent build processes throughout your project’s lifecycle.
Why is Gradle so important for Android projects? For starters, it makes building apps much more efficient. Without Gradle, developers would have to manually manage dependencies and build processes, which could lead to mistakes and inconsistencies. Gradle’s automation ensures that your app is built correctly every time, saving you time and effort. Additionally, Gradle integrates seamlessly with Android Studio, offering features like build variants and support for different Android product types, giving you more control over the final output of your app.
What is Android Studio Ladybug (Debugger)?
You might have seen a small ladybug icon in Android Studio and wondered what it means. So, what is Android Studio ladybug? In simple words, this ladybug icon represents the built-in debugger in Android Studio. It is a powerful tool that helps you find and fix errors in your app code.
When you’re building an app, it’s normal to run into bugs. These bugs can make your app crash, behave in strange ways, or not work as expected. This is where the ladybug (debugger) comes in. You can click the ladybug icon to start a debugging session. Android Studio will then run your app in debug mode.
While debugging, you can set breakpoints. These are like pause points in your code. When your app reaches a breakpoint, it will stop running. This gives you a chance to check the values of variables, step through your code line by line, and understand how the app is working internally. It’s like slowing everything down so you can see what’s going wrong.
Using the debugger in Android Studio can save you a lot of time. Instead of guessing what’s broken, you can directly see where the problem is. You can fix bugs faster and improve your app’s stability before users get to experience any issues.
So, when someone asks what is Android Studio ladybug, now you know it’s not just a symbol. It’s your tool for troubleshooting and correcting your app code. It makes the development process much smoother by giving you control over how your code runs and helping you find hidden problems with ease.
Latest Version of Android Studio
When you’re working with Android Studio, it’s important to know about the latest version of the software. The latest stable release of Android Studio is the most recent version that has been thoroughly tested and is ready for use in real-world development. It comes with bug fixes, new features, and performance improvements that make your app development process smoother and faster.
One of the key benefits of using the latest version is that you get access to the most up-to-date tools. This includes better performance, support for newer Android versions, and updates to the built-in tools like the debugger (the Ladybug icon) and the emulator. Staying updated ensures that you are working with the most reliable and secure version, which is crucial for building high-quality apps. It also ensures that your apps are compatible with the latest Android devices and operating systems.
To keep your Android Studio up to date, it’s easy to check and update to the latest version. Android Studio has a built-in update feature that notifies you when a new version is available. You can simply go to the Help menu on Windows or the Android Studio menu on macOS and click on Check for Updates. If a new version is available, the program will prompt you to download and install it. This process is quick and helps ensure that you always have the latest features and fixes at your fingertips.
If you’re working on debugging your app, remember that Android Studio includes useful features like the Ladybug debugger. It helps you identify and fix issues in your code, making the debugging process more efficient. With the latest version of Android Studio, you can be sure that the Ladybug debugger is optimized and working as smoothly as possible.
What is Android Studio Canary Version?
You may have heard of the Android Studio Canary version and wondered what it means. The Canary channel is essentially a pre-release version of Android Studio that allows developers to get early access to new features and improvements before they are officially added to the stable version. Think of it as a “testing ground” where you can explore the latest updates, but with the understanding that it might not be as stable as the official release.
The purpose of the Canary version is to enable the early testing of new features. This allows developers like you to try out new tools, improvements, and updates as soon as they are developed. It’s particularly useful if you want to stay ahead of the curve and experiment with features that haven’t been fully tested or refined yet. However, since it’s an early version, it can also have bugs or issues that might not be present in the stable release.
As for who should use the Canary version, it’s typically recommended for advanced developers or those who want to contribute to testing new features. If you enjoy experimenting and don’t mind dealing with some potential instability or bugs, the Canary version can be a fun and informative tool to use. You might even discover new features that others haven’t tried yet.
On the other hand, if you’re just starting with Android development or if you are working on a critical project, the Canary version might not be the best choice. Since it’s updated frequently and can have some rough edges, it may not be reliable enough for everyday use, especially for app development that requires stability and smooth performance. For most users, sticking to the stable version is a safer bet until the Canary features are fully polished and released officially.
What is the Android Studio Preview Version?
When you’re working with Android Studio, you might come across the term Preview version. But what exactly does that mean? A Preview build of Android Studio is a version released to provide developers with early access to new features that are still in development. It’s a sort of “sneak peek” into what will be available in future stable releases, allowing developers like you to try out and explore the latest features before they are fully polished.
One important thing to understand is how the Preview version differs from other versions like Canary and Stable. While the Canary version is often the most cutting-edge, featuring the latest features as soon as they are developed (but with the possibility of bugs and issues), the Preview version is generally more stable. It’s less experimental than the Canary version but is still intended for testing.
The Preview version offers developers a chance to explore upcoming features that are not yet fully ready for the stable release. It’s like getting a preview of a movie before it hits theaters. These builds are more polished than the Canary version but may still contain some unfinished elements or minor bugs. On the other hand, the Stable version is the most reliable, tested, and refined version, meant for everyday use without surprises.
The Preview version is ideal for developers who want to explore upcoming features without the risks associated with the Canary channel. If you are interested in staying ahead of the curve and experimenting with new features that will eventually be added to the stable version, the Preview version is a great choice. It’s less risky than the Canary version but still gives you a chance to get familiar with the latest tools and updates.
Conclusion
In this guide, we’ve covered everything you need to know about Android Studio, from what it is to its various features and versions. Android Studio is the official Integrated Development Environment (IDE) for Android app development. It provides a comprehensive set of tools for building, testing, and debugging Android applications, making it the go-to tool for developers. Whether you’re designing user interfaces, writing code, or testing your app on an emulator, Android Studio simplifies the development process.
You also learned about the key features that make Android Studio a powerful tool, such as its intelligent code editor, drag-and-drop layout editor, built-in emulator, and real-time profiling tools. We discussed the different versions, like the stable release, Canary, and Preview versions, and how each one serves different purposes based on your experience level and need for stability or new features.
For beginners, it’s always a good idea to start with the stable version of Android Studio. This version provides a solid foundation for learning, free from the potential instability of the Canary or Preview versions. Once you are comfortable, you can explore the newer features in the other versions to stay up to date with the latest developments.
Remember, staying updated with the latest version of Android Studio ensures that you’re using the best tools available and helps you keep up with the fast-paced world of Android development. Whether you’re just starting or you’re an experienced developer, using the most current version can help you stay ahead of the curve and improve your productivity.
So, are you ready to start your Android journey? Download the latest stable version of Android Studio and begin building your own Android apps today. The world of mobile development is at your fingertips!

Charles Mata is an experienced app developer and educator, passionate about helping others build powerful mobile applications. He publishes in-depth guides on app development, covering Android Studio, Firebase, Google Play Console, and more. With a practical approach, he simplifies complex coding concepts, making them easy for beginners and advanced developers alike.
Charles also offers a premium website development course, where he teaches step-by-step strategies to build, optimize, and scale websites for success. Whether you’re a beginner looking to learn app development or an entrepreneur wanting to create a website, his expert insights will guide you every step of the way.

