Adding Flutter plugins in Android Studio can significantly enhance your development experience. Many developers struggle with integrating these essential tools, which can lead to frustration and wasted time.
You can easily improve your workflow by following straightforward steps to install and set up Flutter plugins in Android Studio.
With Flutter’s growing popularity, having the right plugins can make your app development process smoother and more efficient. Using the Flutter plugins not only speeds up your work but also provides access to a range of features that simplify coding tasks. Understanding how to add these plugins sets a solid foundation for your Flutter projects.
This guide will walk you through the process, making it simple and clear. By the end, you will be ready to leverage the power of Flutter plugins and take your Android development to the next level.
Setting Up the Development Environment
To start using Flutter with Android Studio, you need to focus on a few key installations and configurations. This will ensure that you have the right tools and settings to develop your apps smoothly.
Install Android Studio and Flutter SDK
Begin by downloading and installing Android Studio. This IDE is essential for Flutter development.
During installation, make sure to select the options to install the Android SDK as well.
Next, download the Flutter SDK from the Flutter website. Extract the downloaded zip file to a suitable location on your machine.
After extracting, add the Flutter bin folder to your system’s PATH variable. This allows you to run Flutter commands from the terminal.
To verify your installation, open a terminal and run flutter doctor. This command checks your Flutter environment and helps identify any missing dependencies.
Following these steps will ensure you have a solid foundation for your Flutter projects.
Configuring Android and Dart Plugins
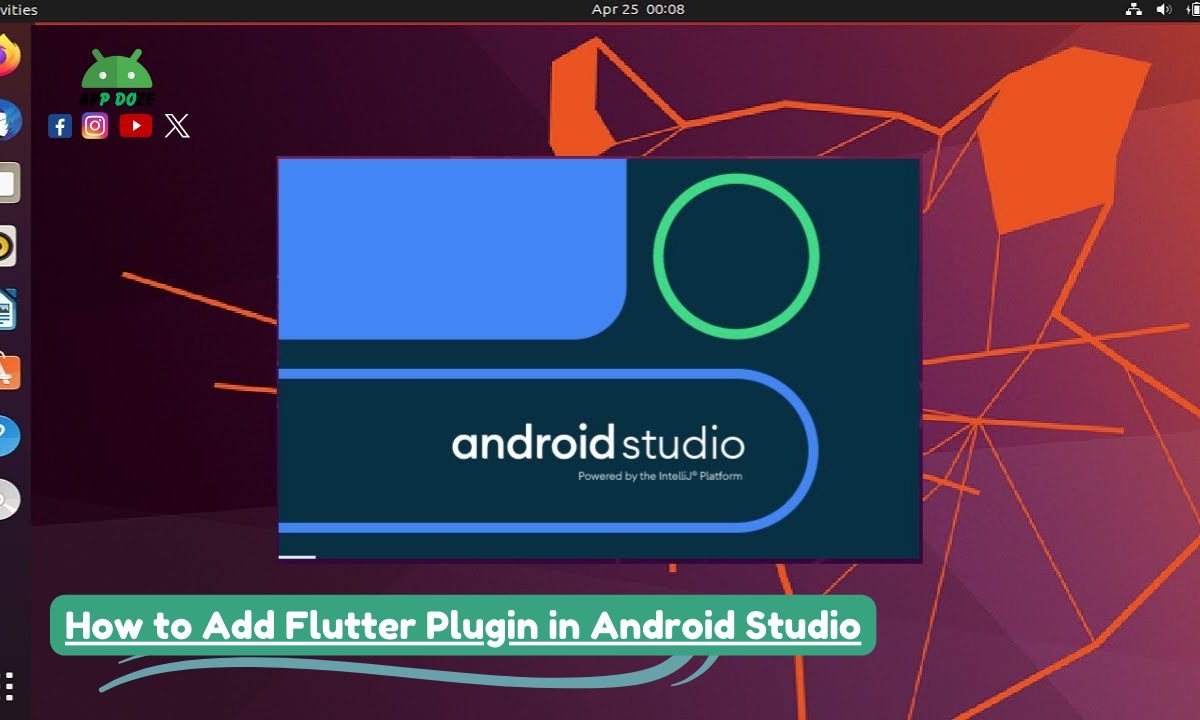
Once Android Studio is installed, open it and go to the settings to install the necessary plugins.
Navigate to File > Settings > Plugins.
Look for the Flutter and Dart plugins in the marketplace. Simply click on “Install” for both plugins.
After installation, restart Android Studio to activate the plugins. This will enhance your IDE experience by providing tools specifically designed for Flutter development.
Make sure to configure the Android SDK path correctly within the IDE.
Go to File > Project Structure and check the SDK settings. This helps ensure that the Flutter SDK is integrated with Android Studio, allowing for smoother project management and execution.
Creating and Configuring a New Flutter Project
Creating a new Flutter project involves several key steps. You will start the project setup in Android Studio and configure important settings like the project name and package name. These settings are crucial for organizing your app and ensuring it works correctly.
Starting a New Flutter Project
To begin, open Android Studio and click on “Start a new Flutter project.” Choose the project type, typically “Flutter Application.”
You’ll then be prompted to enter your project name, which should be clear and descriptive.
Next, set the project location where you want the files saved. Ensure the path is easily accessible.
You also need to specify the Flutter SDK path if it is not automatically detected by the IDE. After completing these steps, click “Finish.”
Your new Flutter project will now open, and you’ll see files like main.dart and pubspec.yaml in the project structure.
Setting the Package Name and Bundle ID
The package name is a unique identifier for your app. It usually follows the format com.example.appname. You will enter this in the project settings after your project is created.
To do this, navigate to your project settings and locate the “Android” section.
The bundle ID is crucial for app distribution on platforms like Google Play and Apple App Store. This ID should mirror your package name since they are often linked.
Ensure that you maintain a consistent naming scheme for both. Once set, these identifiers become part of your app’s metadata in the pubspec.yaml file, ensuring everything runs smoothly during deployment and updates.
Adding and Managing Flutter Plugins
To enhance your Flutter development in Android Studio, you’ll want to add plugins efficiently. This section outlines how to use the Marketplace for Flutter plugins, integrate them into your project files, and utilize live templates for coding efficiency.
Using the Marketplace for Flutter Plugins
To start, open Android Studio and navigate to the Marketplace. You can find it by going to File > Settings > Plugins and then selecting the Marketplace tab.
In the search bar, type in “Flutter” to see available plugins. Popular options include the Flutter and Dart plugins, which support Flutter app development.
Once you find the desired plugin, click Install.
After installation, you will need to restart Android Studio to ensure the changes take effect. This process is straightforward and helps you access various tools to enhance your Flutter project.
Integrating Plugin into your Project Files
After installing your plugin, it’s essential to integrate it properly.
Open your project and locate the pubspec.yaml file. This file manages your project’s dependencies.
Add the plugin to your dependencies section. For example, if you are using a plugin called example_plugin, you would add:
dependencies:
  example_plugin: ^1.0.0
Next, run flutter pub get in the terminal or use the Get Packages option in Android Studio. This action downloads the necessary Dart files for the plugin, making it ready for use in your application.
Be mindful of version compatibility issues. If there are version conflicts, adjust the versions in your pubspec.yaml manually.
Live Templates for Efficient Coding
Using live templates can significantly speed up your coding. Android Studio offers predefined code snippets for common Flutter tasks.
To access live templates, go to File > Settings > Editor > Live Templates. Here, you can view existing templates or create your own.
For example, to quickly create a Flutter widget, you can type stateless and press Tab. This inserts a basic StatelessWidget template.
Utilizing live templates not only saves time but also ensures code consistency across your project. You can customize templates to fit your workflow and increase your coding efficiency.
Testing and Debugging on Android and iOS Devices
Testing and debugging your Flutter apps on Android and iOS devices is crucial for a smooth development experience. You can use tools like AVD Manager and emulators to simulate device environments, making it easier to identify issues early in the development process.
Running Applications with AVD Manager and Emulators
AVD Manager allows you to create and manage Android Virtual Devices (AVDs) for testing. You can define the device’s configuration, such as screen size and Android version. This way, you can simulate different devices to ensure your app runs smoothly.
To use it, follow these steps:
- Open Android Studio.
- Go to Tools > AVD Manager.
- Create a new virtual device with your desired settings.
Emulators mimic real devices but may not support all features. For instance, testing hardware integrations like GPS can be limited.
Remember, for iOS, you can use Xcode’s simulator in a similar fashion. Both tools enable you to visualize your app layout and debug any issues that arise during development.
Cross-platform Flutter Development Considerations
When developing with Flutter, you write a single codebase for both Android and iOS. This means that most of your debugging work will happen on one platform but affects both.
Use the visual layout editor in Android Studio to see how your app adjusts across different screen sizes and orientations.
Pay attention to platform-specific design guidelines to ensure consistency in user experience.
You should also test functionalities unique to each platform. For instance, ensure that your app handles iOS-specific gestures and Android’s material design correctly.
Utilize both emulators and physical devices for thorough testing, as emulators may not fully replicate real-world performance.
Always validate data flow and user interactions in your Flutter apps on these devices.

Charles Mata is an experienced app developer and educator, passionate about helping others build powerful mobile applications. He publishes in-depth guides on app development, covering Android Studio, Firebase, Google Play Console, and more. With a practical approach, he simplifies complex coding concepts, making them easy for beginners and advanced developers alike.
Charles also offers a premium website development course, where he teaches step-by-step strategies to build, optimize, and scale websites for success. Whether you’re a beginner looking to learn app development or an entrepreneur wanting to create a website, his expert insights will guide you every step of the way.