If you are trying to build mobile apps that work on both Android and iOS, Flutter can help you do that with a single codebase. Flutter is an open-source toolkit made by Google. It uses the Dart language and lets you create beautiful apps fast. But to start using Flutter inside Android Studio, you need to install the Flutter plugin first.
Android Studio is one of the most popular tools for Flutter development. It gives you a full environment with code editor, debugger, and many features that help you build apps faster. But by default, Flutter is not built into Android Studio. You have to manually add the Flutter plugin to make everything work.
This guide is useful for you if you are setting up Flutter for the first time or if you already have an Android project and want to add Flutter to it. Whether you use Windows or Mac or even an older version like Android Studio 2021, you’ll learn how to add the plugin and start working with Flutter right away.
Requirements Before You Start
Before you add the Flutter plugin in Android Studio, make sure you have a few things ready. These are simple but important. Without them, you might face issues later during setup or while running your app.
First, you need a working internet connection. The plugins are downloaded from the online marketplace inside Android Studio. Without the internet, you cannot install them properly.
Second, Android Studio must be installed on your computer. You can download it from the official Android Studio website. Whether you are using Windows or Mac, the installation process is simple. Just make sure you install the latest version so it supports Flutter smoothly.
Third, it is better if you have the Flutter SDK downloaded already. The plugin in Android Studio will ask for the SDK path. If you don’t have it, the plugin may try to download it for you, but that depends on your internet connection and settings. So downloading the SDK yourself can save you time.
Lastly, don’t forget about the Dart plugin. Flutter uses the Dart language, and Android Studio needs the Dart plugin to support Dart files. Usually, when you install the Flutter plugin, it will ask you to install Dart as well. But in case it doesn’t, you can go to the Plugins section and install Dart manually.
Having all these ready makes the setup smoother and helps you avoid common errors during installation.
How to Install Flutter Plugin in Android Studio (Windows & Mac)
Installing the Flutter plugin in Android Studio is a simple process. Once you add it, you can start building Flutter apps directly inside the IDE. Below are the step-by-step instructions for both Windows and Mac users.
Step-by-step on Windows
If you are using a Windows computer, follow these steps to add the Flutter plugin:
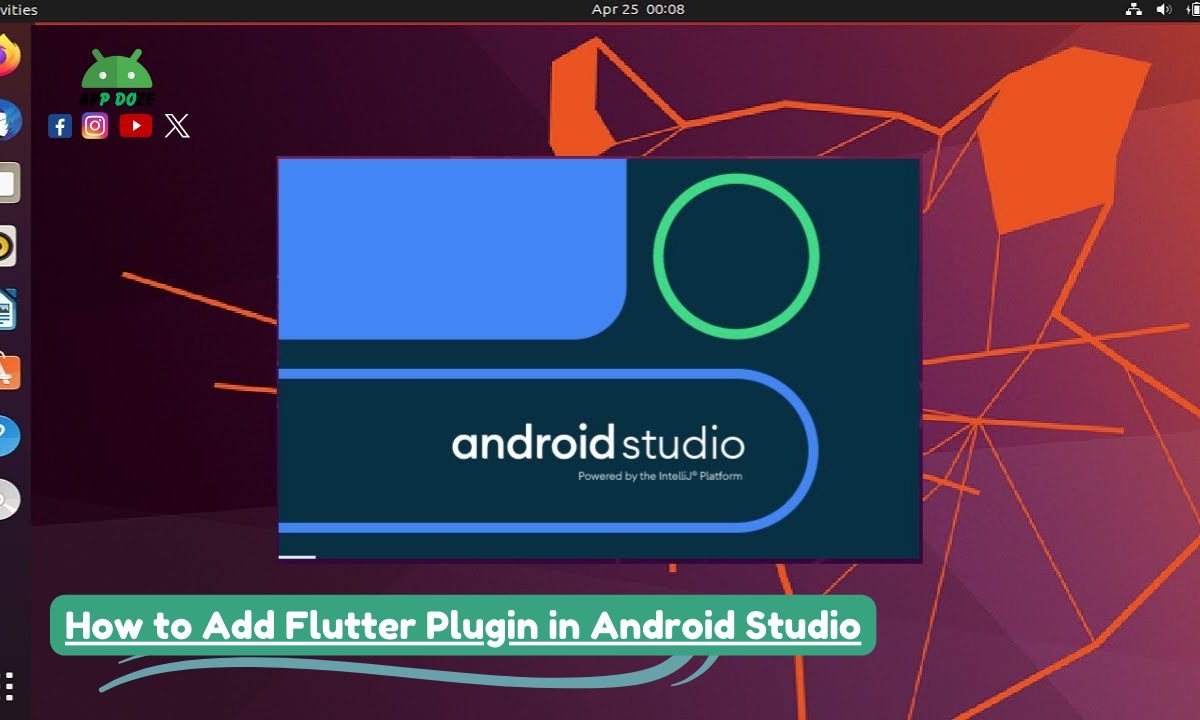
- Open Android Studio
Start Android Studio from your desktop or start menu. Wait for the main screen to load fully. - Go to Plugins > Marketplace
On the welcome screen, look at the bottom-right corner and click on Plugins. Then, choose the Marketplace tab from the top. - Search “Flutter” and install
In the search bar, type Flutter. Once the Flutter plugin appears, click the Install button. Android Studio will begin downloading and installing the plugin. - Install the Dart plugin when prompted
After installing Flutter, you may get a prompt asking if you also want to install the Dart plugin. Accept this and let it install. Dart is required to write Flutter apps. - Restart Android Studio
Once both plugins are installed, you must restart Android Studio to complete the process. After restarting, you can start creating Flutter projects or integrate Flutter into existing Android apps.
Step-by-step on Mac
If you are using a Mac, the steps are nearly the same as on Windows. However, the layout and appearance might be slightly different depending on your macOS version.
- Open Android Studio from Applications
Go to your Applications folder and launch Android Studio. - Open the Plugins section
From the startup screen, find the Plugins option in the bottom-right or use the top menu by going to Android Studio > Settings > Plugins. - Go to Marketplace and search Flutter
Click on the Marketplace tab. In the search box, type Flutter and then click Install when it appears. - Install Dart when asked
After installing Flutter, Android Studio may ask if you want to install Dart. Confirm and install it. - Restart Android Studio
When everything is installed, restart Android Studio. After a restart, your setup is ready for creating or importing Flutter projects.
These steps are standard across most versions of Android Studio, including 2021. If any UI options look different, just look around the same area or use the search inside settings.
How to Install Flutter and Dart Plugin Together
When you want to develop Flutter apps in Android Studio, you need both the Flutter plugin and the Dart plugin. These two plugins work together to give you the full environment you need for writing, testing, and running your Flutter apps.
The Flutter plugin gives you all the tools for building apps using Flutter’s UI framework. Flutter apps are written in the Dart language. That’s why the Dart plugin is also required. It helps Android Studio understand Dart code, gives you code suggestions, error checking, and other useful features for writing better code.
Now, let’s talk about the installation order. Normally, you don’t need to install Dart separately. When you install the Flutter plugin first, Android Studio will check if the Dart plugin is missing. If it is, you will see a prompt asking you to install it as well. So the best way is to always install the Flutter plugin first. That way, Dart gets installed automatically, and you don’t miss any setup steps.
If, for some reason, Dart is not installed or you skip the prompt, you can still add it manually later from the Plugins section in Android Studio. Just search for “Dart” in the Marketplace tab and install it directly.
- To keep things simple, always remember:
- Installthe Flutter plugin first, and Dart will follow.
- With both plugins working together, you’ll be ready to start building your Flutter apps without any missing tools or errors.
Add Flutter to Existing Android App
If you already have an Android app and now want to add Flutter to it, you can do that without starting from scratch. This is useful when you want to add a new screen, feature, or module using Flutter while keeping your main app in native Android. Android Studio allows you to integrate Flutter into your existing app with a few simple steps.
Open existing Android project in Android Studio
First, open your Android app like you normally do in Android Studio. Make sure the project builds successfully before adding anything new. If there are errors in the base project, it’s better to fix them first to avoid confusion later.
Use flutter create . or manual integration
Now, you have two main options. One is automatic, using a command, and the other is manual.
If you want to quickly set up Flutter inside your existing project, open your terminal inside the root folder of the project and run this command:
luaCopyEditflutter create .
This command will generate the necessary Flutter files and folder structure inside your existing project. It adds the lib folder, pubspec.yaml, and other Flutter settings while keeping your Android code safe.
If you want more control or your project structure is complex, you can do manual integration. In this method, you create a new Flutter module using:
cppCopyEditflutter create --template module my_flutter
Then, you link this module into your Android app manually through Gradle files.
Modify build.gradle and pubspec.yaml
To complete the setup, you need to edit some files.
In your settings.gradle file, add:
phpCopyEditinclude ':app', ':flutter'
setProjectDir(':flutter', file('path_to_your_flutter_module'))
Then, go to your app/build.gradle file and include the Flutter module as a dependency.
Also, make sure your pubspec.yaml is properly set up with the required Flutter packages. You can edit it to add UI packages, animations, or any other Flutter libraries you want to use.
Handle dependencies and code structure
Once everything is connected, you’ll need to manage the project structure. The Android code will still be in Java or Kotlin. The Flutter part will live inside the lib folder. You’ll also need to manage two sets of dependencies—one for Android (Gradle) and one for Flutter (pubspec.yaml).
After setup, you can launch Flutter screens from your Android activity using platform channels or start FlutterActivity directly.
This way, you keep your native code as it is and just add new Flutter parts where needed. It’s a smooth way to slowly shift or mix Flutter into your existing Android app.
How to Setup Flutter SDK in Android Studio
To start building apps with Flutter in Android Studio, you must connect the Flutter SDK to Android Studio. The SDK is what allows you to run Flutter commands, create projects, and build apps. If you have already downloaded the SDK, the next step is to link it properly inside the Android Studio settings.
Link SDK path from Android Studio settings
First, open Android Studio. If you’re on the welcome screen, go to the bottom-right and click on More Actions, then choose Settings (on Windows) or Preferences (on Mac).
In the settings window, follow this path:
nginxCopyEditLanguages & Frameworks > Flutter
Here, you will see a field that asks for the Flutter SDK path. Click the folder icon next to it and browse to the location where you downloaded and extracted the Flutter SDK.
After selecting the correct folder, click Apply and then OK.
Show sample SDK directory
If you’re not sure where the Flutter SDK should be located, here are some examples:
- On Windows:
C:\src\flutter - On Mac:
/Users/yourname/development/flutter
Make sure the folder you select contains subfolders like bin, cache, and packages. If the path is incorrect or if you select a subfolder inside Flutter, Android Studio will not detect it.
Explain how to verify setup using terminal and Android Studio console
Once you’ve linked the SDK, you should verify if it works correctly.
You can check this by opening the Terminal inside Android Studio (or using your system terminal) and typing:
nginxCopyEditflutter doctor
This command checks your Flutter installation and shows you if anything is missing, like Android SDK, Dart plugin, or device setup.
You should see a list with green check marks or text saying everything is OK. If there are warnings or errors, it will tell you what to fix.
Also, inside Android Studio, try creating a new Flutter project. If the project loads successfully and you can see the main.dart file inside the lib folder, your setup is complete.
By linking the SDK correctly and running a quick check, you can make sure Android Studio and Flutter are ready to use without any problems.
How to Download Android Studio with Flutter Setup (Pre-bundled)
If you are just starting with Flutter and want the easiest way to get everything in one place, you can go for the pre-bundled version of Android Studio. Some official builds or community versions come with Flutter and Dart plugins already included. This helps you avoid manual plugin installation and makes the setup process faster.
Mention bundled versions if available
There are no official Google-released Android Studio versions that come with Flutter pre-installed. However, at some events or special learning packages (like Flutter DevTools or Google’s Flutter learning bundles), you may find Android Studio with Flutter and Dart already added.
Also, some third-party websites or university setups offer Android Studio packages with Flutter SDK and required plugins already included. But be careful—only download such versions from trusted sources.
Share official download source
The best and safest option is to get Android Studio from the official website. You can visit:
https://developer.android.com/studio
Once you install Android Studio from there, you can manually install the Flutter and Dart plugins in just a few steps. This method is more secure and ensures that you always get the latest stable release.
List the benefits of using a bundled version
Using a pre-bundled version (when available) gives you some benefits:
- Saves time: You don’t need to install plugins manually
- No setup mistakes: Everything is already connected
- Great for beginners: Makes learning Flutter easier
- Ready-to-use: SDK path and plugins are usually already set
Still, if you can’t find a safe pre-bundled version, installing the plugins manually is simple and takes only a few minutes. So, even without a pre-bundled option, you can set up Flutter in Android Studio quickly without problems.
Install Android SDK for Flutter Without Android Studio
If you don’t want to install Android Studio but still want to develop Flutter apps, you can set up the Android SDK separately. This is helpful if you’re using another code editor like VS Code or just want to save space on your computer. You can manually install the Android SDK and then link it with your Flutter setup.
Download SDK manually from the Android developer website
To begin, go to the official Android developer website:
https://developer.android.com/studio
Scroll down to the section called Command line tools only. Choose your operating system (Windows, macOS, or Linux), and download the SDK tools zip file.
After downloading, extract the folder somewhere safe on your computer. For example:
- On Windows:
C:\Android\cmdline-tools - On Mac:
/Users/yourname/Library/Android/cmdline-tools
Make sure the folder includes subfolders like bin and files like sdkmanager. These tools allow you to install SDK packages without using Android Studio.
Set environment variables
After extracting the SDK tools, you need to set environment variables so that your system and Flutter can find the SDK.
For Windows:
- Open System Properties > Environment Variables.
- Under “System variables”, find or create a variable named
ANDROID_HOMEand set it to the path of your SDK (e.g.,C:\Android). - Add the
platform-toolsandcmdline-tools\binto your systemPathvariable.
For Mac/Linux: Open your terminal and edit your .bashrc, .zshrc, or .bash_profile file. Add these lines:
bashCopyEditexport ANDROID_HOME=$HOME/Android
export PATH=$ANDROID_HOME/platform-tools:$ANDROID_HOME/cmdline-tools/bin:$PATH
After saving, run source ~/.bashrc or restart your terminal to apply the changes.
Connect with Flutter SDK via flutter config
Now that the Android SDK is installed and your system knows where it is, you need to tell Flutter about it. Open your terminal and run:
luaCopyEditflutter config --android-sdk <path_to_sdk>
Replace <path_to_sdk> with the full path where you installed the SDK. For example:
luaCopyEditflutter config --android-sdk C:\Android
or on Mac:
luaCopyEditflutter config --android-sdk /Users/yourname/Android
After this, run flutter doctor to check if everything is set correctly. If the Android SDK is connected properly, you’ll see a green check mark in the output.
By following these steps, you can set up the Android SDK without Android Studio and still build and run Flutter apps.
FAQs
Can I use VS Code instead of Android Studio for Flutter?
Yes, you can use VS Code for Flutter development. It’s lightweight and fast. Many developers prefer it because it runs smoothly even on low-end systems. You just need to install the Flutter and Dart extensions from the VS Code extensions marketplace. After that, connect your Flutter SDK, and you’re ready to build apps without using Android Studio at all.
Do I need to install Dart separately?
In most cases, no. When you install the Flutter plugin in Android Studio, it will also ask you to install the Dart plugin. If you accept that prompt, both plugins will be installed together. Dart is the language Flutter uses, so it’s important, but you don’t have to install it separately if you’re using the plugin method.
What if the Flutter plugin doesn’t show in the Marketplace?
Sometimes, the Flutter plugin may not appear in the Plugins > Marketplace section. This can happen if your Android Studio version is too old or if you have internet issues. First, update your Android Studio to the latest version. If the problem continues, check your internet connection or try restarting Android Studio. You can also install the plugin using a zip file by downloading it from the JetBrains plugin website.
Can I run Flutter without Android Studio?
Yes, you can run and build Flutter apps without using Android Studio. You can use tools like VS Code or even the terminal. The only thing you need is the Flutter SDK and Android SDK properly installed and linked. Many developers work without Android Studio by setting up everything manually and using terminal commands for creating, building, and running apps.
Final Thoughts
Setting up the Flutter plugin in Android Studio is one of the first steps to start building your apps. Whether you are using Windows or Mac, the process is nearly the same and only takes a few minutes if you follow the right steps.
First, you open Android Studio and go to the Plugins section. From there, you search for the Flutter plugin in the Marketplace and install it. During the process, you also install the Dart plugin if it’s not already there. After restarting Android Studio, your environment is ready. You can now start a new Flutter project or even add Flutter to your existing Android app.
It’s also a good habit to keep your Flutter SDK, Dart plugin, and Android Studio updated. New versions fix bugs, add features, and improve performance. So always check for updates regularly to avoid problems later.
If you found this guide helpful, make sure to bookmark it so you can come back to it anytime. Also, feel free to share it with your friends or team members who are just getting started with Flutter. It might save them a lot of time during setup.

Charles Mata is an experienced app developer and educator, passionate about helping others build powerful mobile applications. He publishes in-depth guides on app development, covering Android Studio, Firebase, Google Play Console, and more. With a practical approach, he simplifies complex coding concepts, making them easy for beginners and advanced developers alike.
Charles also offers a premium website development course, where he teaches step-by-step strategies to build, optimize, and scale websites for success. Whether you’re a beginner looking to learn app development or an entrepreneur wanting to create a website, his expert insights will guide you every step of the way.