When working with Android Studio, keeping your project in sync with Gradle is crucial for a smooth development experience. If you’re facing issues or simply need to refresh your project, syncing Gradle is the key step to ensure that your app compiles correctly and all dependencies are up to date.
Poor synchronization can lead to errors that slow down your progress and add frustration to your coding.

You may wonder why Gradle plays such an important role. It automates the build process, handling everything from code compilation to resource generation. Without proper syncing, your project might not function as intended, causing headaches when building your app or managing dependencies. By learning how to sync your project with Gradle files, you can save time and avoid common pitfalls.
This guide will walk you through the steps to effectively sync Gradle in Android Studio, helping you resolve conflicts and maintain a clean build. With these straightforward instructions, you can ensure your development process remains efficient and error-free.
Understanding Gradle in Android Studio
Gradle is a powerful build automation tool widely used in Android development. It simplifies the process of compiling code, managing dependencies, and generating APKs. Two key components of Gradle in Android Studio are the Gradle Wrapper and the build configuration files, which help structure your project effectively.
Overview of Gradle and the Gradle Wrapper
Gradle serves as the foundation for the Android build system. It automates tasks such as compiling code and packaging applications. The Gradle Wrapper is a convenient feature that allows you to execute Gradle tasks without requiring a local installation of Gradle. It ensures your project uses the correct version, improving consistency across different environments.
You can invoke the Gradle Wrapper by using the command ./gradlew on Unix systems or gradlew.bat on Windows. This means anyone collaborating on your project can run builds without installing Gradle manually. The use of the Gradle Wrapper saves time and reduces compatibility issues, making it a best practice in Android development.
The Role of build.gradle and gradle.properties Files
The build.gradle file is where you define your project configurations. You typically find two types: one at the project level and another at the module level. The project-level build.gradle manages settings and dependencies for the entire project, while the module-level allows you to specify dependencies for each module.
The gradle.properties file stores configuration settings and can customize how Gradle operates. You might use it to define properties like project version or API keys. This separation of configuration helps keep your project organized and manageable.
Using these files effectively ensures that your project builds smoothly and efficiently. Keeping them updated is essential for avoiding errors during the build process.
Synchronizing Your Project with Gradle Files
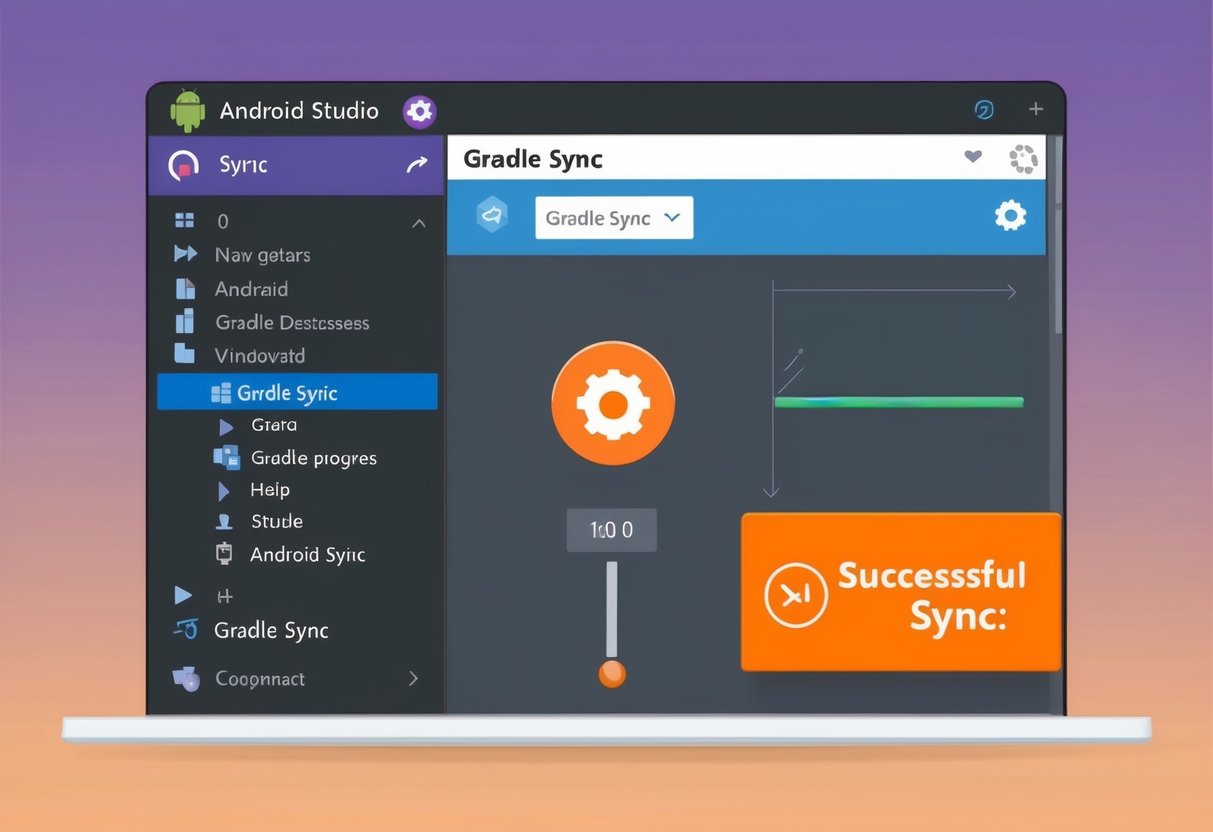
Syncing your project with Gradle files is essential for managing dependencies and ensuring that your build settings are correct. This process helps you resolve any conflicts and errors that may arise during development.
Steps to Sync Your Project
To sync your project in Android Studio, follow these steps:
Open Your Project: Launch Android Studio and open your existing project.
Locate Sync Option: Go to the menu bar. Click on File, then select Sync Project with Gradle Files.
Use the Notification Prompt: If you modified a Gradle file, a prompt might appear. Click Sync Now in this prompt.
Wait for Completion: Watch the progress bar at the bottom of the window. It will indicate when the Gradle build process is complete.
Check for Errors: If there are any issues, Android Studio will show you error messages. Pay attention to these as they guide you in resolving any problems.
Troubleshooting Common Gradle Sync Issues
Sometimes, you might encounter issues while syncing. Here’s how to troubleshoot common problems:
Update Dependencies: Ensure your dependencies in the build.gradle file are correct. Mismatched versions can cause failures.
Check Android Gradle Plugin Version: Verify that you are using a compatible version of the Android Gradle Plugin. Updating this can resolve many sync issues.
Clear Cache: If syncing fails, try clearing the Android Studio cache. Go to File > Invalidate Caches / Restart.
Internet Connection: Make sure you have a stable internet connection. Gradle may need to download dependencies.
Inspect Gradle Console: Check the Gradle console for specific error messages. This can provide clues on what went wrong during the sync process.
Configuring the Gradle Build Process
Configuring the Gradle build process is essential for managing how your Android project compiles and runs. Key aspects include customizing the build.gradle file and managing dependencies, which influence your app’s behavior and performance.
Customizing the build.gradle File
The build.gradle file is where you define your project’s configuration. Here, you can set the Gradle Wrapper version that ensures consistency across different environments. Look for the distributionUrl property in the gradle-wrapper.properties file to specify the exact version of Gradle.
You can also customize build types and product flavors. Use the following structure:
android {
    buildTypes {
        release {
            // Customize release settings
        }
        debug {
            // Customize debug settings
        }
    }
}
Specify settings such as minifyEnabled and proguardFiles. This customization helps you optimize your app for different stages of development, ensuring the correct settings for release or debug builds.
Managing Dependencies and API Levels
Managing project dependencies is crucial for your app’s functionality. Use the dependencies block in your build.gradle file to declare libraries your project relies on. Here’s how you might format it:
dependencies {
    implementation 'com.example:library:1.0.0'
    testImplementation 'junit:junit:4.12'
}
When managing API levels, ensure to target the right version. Set compileSdkVersion and targetSdkVersion to align with the latest Android features while maintaining backward compatibility. Be mindful of the minSdkVersion, as it defines the lowest Android version your app supports.
This thoughtful approach to dependencies and API levels enhances your app’s performance and user experience.
Building and Generating the APK File
To successfully build and generate an APK file, you need to understand the build process in Android Studio. This involves using the Android Gradle Plugin (AGP) and configuring your Gradle build scripts correctly.
Finalizing the Build Process to Generate an APK
Once you have set up your project, you can start finalizing the build process.
In Android Studio, go to the Build menu and select Build Bundle(s) / APK(s). Then choose Build APK(s).
This step uses the Gradle build system to compile your app code, resources, and manifests into a single APK file.
Make sure your configuration in the build.gradle file reflects the correct settings for release builds. Check for application ID, versioning, and signing configurations.
After initiating the build, Android Studio will show a progress window.
Once completed, you will see a prompt saying your APK has been generated. You can find the APK file in the build/outputs/apk/ directory of your project.
This file is ready for installation on devices or distribution through app stores.

Charles Mata is an experienced app developer and educator, passionate about helping others build powerful mobile applications. He publishes in-depth guides on app development, covering Android Studio, Firebase, Google Play Console, and more. With a practical approach, he simplifies complex coding concepts, making them easy for beginners and advanced developers alike.
Charles also offers a premium website development course, where he teaches step-by-step strategies to build, optimize, and scale websites for success. Whether you’re a beginner looking to learn app development or an entrepreneur wanting to create a website, his expert insights will guide you every step of the way.


