If you’re planning to use MongoDB in your Android app, it’s important to do it the right way. MongoDB is a popular NoSQL database that’s flexible and fast, but connecting it directly to your Android app isn’t always the best idea.
In this guide, you’ll learn the right methods to use MongoDB with Android Studio. You’ll also understand which tools you need to set it up properly and whether Android Studio can be used for iOS development or not. Whether you’re just starting or looking to improve your current setup, this guide will give you the full picture.
What Is MongoDB and Why Use It in Android Apps?
Before you start using MongoDB in Android Studio, it’s important to understand what MongoDB is and why many developers prefer it for mobile apps.
MongoDB is a NoSQL database. This means it doesn’t store data in traditional tables like MySQL. Instead, it uses collections and documents, which makes it more flexible. You don’t have to follow a strict structure for your data. This is helpful when your app needs to handle different types of information without always following the same format.
Another reason developers like MongoDB is speed. It’s designed to be fast and scalable. If your app grows and handles more users, MongoDB can manage that without slowing down too much. That’s why it’s often used in modern mobile and web applications.
For mobile apps, MongoDB is useful when your app deals with real-time data or a large amount of unstructured information. Here are some examples where MongoDB is a good choice:
- A chat app that stores messages with user details and timestamps
- A to-do list app that allows flexible task data like notes, tags, or images
- A social media app where users upload posts, comments, and likes
When you build apps like these, MongoDB gives you the freedom to store data in a way that fits your app’s needs without worrying about strict database rules.
Can You Connect MongoDB Directly to Android Studio?
You might be wondering if you can connect your Android app directly to a MongoDB database. The short answer is yes, it is technically possible. But in most cases, it’s not recommended, especially for real apps that you want to publish or scale.
When you connect directly, your app tries to talk to the database without using a backend. While this may sound easier, it comes with big problems.
One of the main issues is security. If you connect directly, you may need to include your database credentials in your app code. This means anyone who gets access to your APK can find your database connection string and misuse it. Your data becomes unsafe.
Scalability is another problem. When multiple users try to access the database at the same time, your app can become slow or crash. MongoDB is not designed to handle direct connections from hundreds or thousands of mobile users at once. That’s why developers usually build a backend that handles the communication between the app and the database.
Still, there are some situations where a direct connection might be okay. For example, if you are working on a simple test project, a student app, or something that runs only on your local network, you can connect directly to MongoDB. But you should never use this method for apps that go public or need secure user data.
To build a strong and safe app, it’s better to use a backend to connect MongoDB with Android Studio. This method not only protects your data but also helps your app run smoother as it grows.
Recommended Method: Use MongoDB with Backend API
If you want to use MongoDB safely and professionally inside your Android app, the best method is to use a backend API. This is the most common and recommended approach used by developers around the world.
So, what is a backend API?
A backend API is like a middleman between your app and the database. Instead of letting your app talk directly to MongoDB, your app sends requests to the backend, and the backend handles the database. This keeps your database hidden from users and adds extra security and control.
Here’s how it works:
- Your Android app sends a request, like “get user data” or “add new task”, to the backend.
- The backend reads that request, connects to MongoDB, and performs the required action.
- After that, the backend sends the result (like data or confirmation) back to your app.
This way, your database stays safe, your app runs faster, and you can add more features to the backend, like authentication, data validation, and more.
You can build the backend using different technologies. The most popular option is Node.js with Express.js. It’s easy to learn and works well with MongoDB. You can also try Firebase Functions if you’re using Firebase for other parts of your app.
To connect your Android app to the backend, you’ll need HTTP libraries. Here are some tools you can use in Android Studio:
- Retrofit: Clean and easy to use for REST APIs. Most preferred option.
- Volley: Built by Google, good for smaller or quick requests.
- OkHttp: Fast and powerful, often used with Retrofit as a network layer.
These tools help your app send and receive data from your backend simply and reliably.
By using a backend API with MongoDB, you’re not only making your app secure but also preparing it to grow and serve many users without problems.
Step-by-Step: How to Use MongoDB in Android Studio with API
If you’re ready to connect your Android app with MongoDB the right way, follow this step-by-step guide. This method uses a backend API to keep your data safe and your app well-structured.
Step 1: Setup MongoDB (Local or Atlas)
First, you need a MongoDB database. You can install MongoDB locally on your computer, or you can use MongoDB Atlas, which is a cloud-based service. MongoDB Atlas is easier to set up and works from anywhere.
- Go to the MongoDB Atlas website
- Create a free account
- Make a new cluster
- Add a new database and collection
- Get the connection string (you’ll use this in your backend later)
This step sets up your database, where your app’s data will be stored and managed.
Step 2: Build Simple Backend API (Node.js Example)
Now, you’ll create a backend that can receive requests from your Android app and talk to MongoDB.
- Install Node.js and create a new project
- Use
npm initto start - Install
expressandmongooselibraries - Connect your API to MongoDB using the connection string
- Create basic routes like:
GET /itemsto fetch dataPOST /itemsto add dataDELETE /items/:idto delete data
Here’s a very basic example:
jsCopyEditconst express = require('express');
const mongoose = require('mongoose');
const app = express();
app.use(express.json());

mongoose.connect('your_connection_string_here');

const Item = mongoose.model('Item', { name: String });

app.get('/items', async (req, res) => {
  const items = await Item.find();
  res.send(items);
});

app.post('/items', async (req, res) => {
  const newItem = new Item({ name: req.body.name });
  await newItem.save();
  res.send(newItem);
});

app.listen(3000, () => console.log('Server running on port 3000'));
You can run this API locally or host it using a service like Render, Heroku, or Railway.
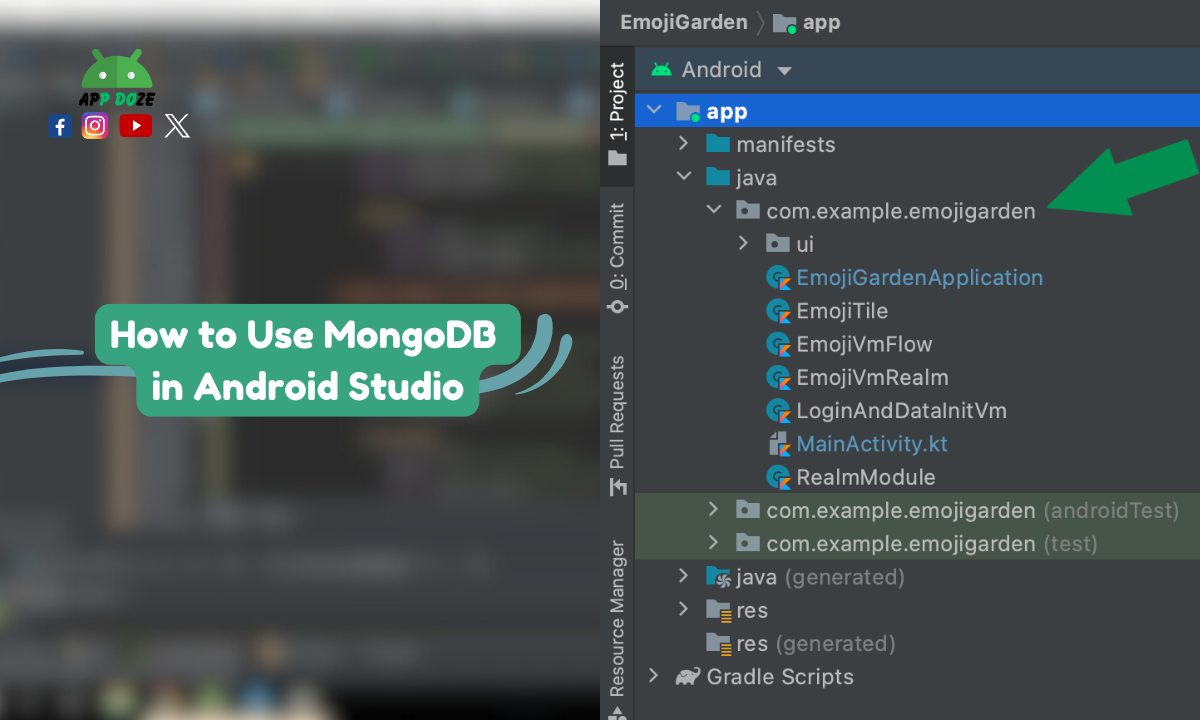
Step 3: Connect Android App Using Retrofit
In your Android project, use Retrofit to send requests to your backend.
- Add Retrofit dependency in your
build.gradle - Make a model class that matches your MongoDB document
- Create an interface with your API endpoints
- Use Retrofit to call the API and get or send data
Example:
javaCopyEditpublic interface ApiService {
    @GET("items")
    Call<List<Item>> getItems();

    @POST("items")
    Call<Item> createItem(@Body Item item);
}
This will let your Android app interact with the backend using simple function calls.
Step 4: Test and Handle Data (Insert, Fetch, Delete)
Now, you can test your app. Use buttons or actions in your app to:
- Fetch data from MongoDB
- Add new items to MongoDB
- Delete items using their ID
Make sure you handle errors like no internet connection or invalid input. You can also use loading animations or Toast messages to show users what’s happening.
Optional: Add Auth or Cloud Storage
If you want to make your app more secure or powerful, you can:
- Add user authentication using Firebase Auth or JWT tokens
- Use Firebase Storage or Amazon S3 for storing user files like images
- Log user activity or save login sessions
These extras can help you take your app to the next level while keeping your backend strong and organized.
By following these steps, you’ll have a complete system where your Android app works smoothly with MongoDB through a backend API.
Can Android Studio Be Used for iOS Development?
You might be wondering if it’s possible to use Android Studio to build iOS apps too. The short answer is no, not directly. Android Studio is mainly made for developing Android apps using Java or Kotlin. It’s the official tool by Google for Android development and doesn’t support iOS app building by default.
Android Studio doesn’t provide tools to build or test apps for iPhones or iPads out of the box. You also can’t run or upload apps to the Apple App Store from Android Studio alone. Apple’s system is different, and it usually requires a Mac and a tool called Xcode.
But there are some ways you can build apps for both Android and iOS using cross-platform technologies. Two popular options are:
- Flutter: Made by Google, Flutter lets you write one codebase using the Dart language and run it on both Android and iOS. You can use Android Studio to write and test Flutter apps and then build for iOS too if you have access to a Mac.
- Kotlin Multiplatform Mobile (KMM): This lets you share code between Android and iOS using Kotlin. You still need Xcode to build and run the iOS version, but you can write a lot of shared logic inside Android Studio.
If your goal is to create apps that run on both platforms, these cross-platform tools are worth learning. But if you’re building apps only for iOS, you should use Xcode on a Mac. It’s the official IDE by Apple, and it supports everything you need for iOS development, including Swift and Objective-C.
Another good alternative is React Native, which also allows you to build Android and iOS apps using JavaScript. You can use any code editor like VS Code and test the app on both platforms.
So, Android Studio is great for Android apps, but if you want to target iOS too, it’s better to look at cross-platform frameworks or use Apple’s tools directly.
Best Practices for MongoDB and Android Integration
When you connect your Android app to MongoDB using a backend API, following best practices can help you build a smooth and safe experience for your users. These simple habits can save you from big problems later and make your app more professional.
Use Secure APIs (Avoid Exposing Database Keys)
Never include your MongoDB connection string or database keys inside your Android app. If you do this, anyone who opens your app code or APK file can steal those keys and access your database. Instead, always use a backend server to handle the database connection. Let your Android app send requests only to the backend. This keeps your MongoDB safe and hidden from the public.
Handling Errors and Slow Connections
Your app users might have slow internet or lose connection while using the app. That’s why you should always handle errors properly. Use try-catch blocks in your code and show clear messages to the user when something goes wrong. For example, if the app can’t connect to the server, show a message like “Please check your internet connection.”
Also, add timeout settings in your network calls. This prevents your app from freezing when the server takes too long to respond.
Use JSON Properly
MongoDB works well with JSON, and most backend APIs send and receive data in JSON format. Make sure your app can read and send JSON correctly. Use libraries like Retrofit and Gson or Moshi to help you with JSON parsing. This makes your code cleaner and reduces bugs when you handle data.
Also, keep your JSON structure simple and clean. Don’t send too much unnecessary data in one request, especially on mobile networks.
Optimize for Mobile Data and Battery
Mobile users don’t want apps that use too much data or drain the battery quickly. So, keep your API calls short and light. Only send or request data that is needed. Avoid calling the API again and again for the same thing. You can use caching methods to store data locally and reduce repeat calls.
Also, try to do network calls in the background using coroutines or background threads. This helps your app stay fast and responsive, even when the user is doing other things.
By following these best practices, your MongoDB and Android integration will be secure, efficient, and user-friendly. This will not only improve app performance but also keep your users happy.
Common Errors and How to Fix Them
While connecting your Android app with MongoDB through a backend, you might face some common errors. These issues can slow down your progress if you don’t know what they mean or how to fix them. Below are some problems you may run into and simple ways to solve them.
MongoDB Connection Failed
This error usually happens in your backend, not in the Android app. It means your backend couldn’t connect to the MongoDB server.
Why it happens:
- Wrong MongoDB connection string
- MongoDB server is down or blocked
- Missing permissions in MongoDB Atlas
How to fix it:
- Double-check your connection string (check username, password, and database name)
- Make sure your IP address is whitelisted in MongoDB Atlas settings
- If using local MongoDB, make sure the service is running and not blocked by a firewall
App Not Fetching Data
Sometimes your app runs fine, but it doesn’t show any data. This means your API call is not returning the expected result.
Why it happens:
- The backend route is not working
- Network request is wrong or has errors
- Data format is not matching your model in Android
How to fix it:
- Test your API route using a tool like Postman
- Check if your Android code is using the right endpoint and headers
- Make sure your model class in Android matches the JSON structure from the backend
Backend Not Responding
Your app tries to call the API, but nothing happens. It might even show a timeout or unknown host error.
Why it happens:
- The server is offline or crashed
- Wrong API URL in your app
- Internet connection problem
How to fix it:
- Make sure the backend server is running and deployed correctly
- Use the correct base URL in Retrofit or your HTTP library
- Try the URL in a browser to confirm if it’s live
- Add proper error messages in your app to inform users when the server can’t be reached
CORS or Network Security Exceptions
If your Android app is calling the backend and you see an error like “CORS policy blocked this request” or a network security exception, it means your request is blocked.
Why it happens:
- Your backend does not allow requests from your app
- Android is blocking the request due to missing permissions
How to fix it:
- In your backend (Node.js or others), add CORS support by using middleware like
cors - In Android, make sure you added internet permission in
AndroidManifest.xml: xmlCopyEdit<uses-permission android:name="android.permission.INTERNET" /> - For newer Android versions, make sure your server uses HTTPS or allow clear text if needed in
network_security_config.xml
By solving these common issues step by step, you’ll make your MongoDB integration smooth and reliable. It also helps you save time during development and reduces user complaints later.
FAQs
When you’re working on connecting MongoDB with your Android app, you may have a few common questions in mind. Here are some simple answers that can clear your doubts and guide you in the right direction.
Can I use MongoDB directly in Android Studio?
You can, but it’s not recommended. A direct connection means your app will connect to MongoDB without a backend. This is risky because it can expose your database credentials. Also, it doesn’t handle many users well. It’s okay for learning or testing locally, but for real apps, always use a backend API to keep your data safe and your app stable.
Is it possible to use Firebase instead of MongoDB?
Yes, you can use Firebase as an alternative. Firebase is also a cloud database service, but it’s built mainly for mobile apps. It offers easy integration with Android, real-time updates, and built-in authentication. If you don’t want to build your backend, Firebase is a good choice. But if you need more control over your data or already know how to build backends, MongoDB gives you more flexibility.
Can Android Studio be used for iOS development?
Not directly. Android Studio is made for building Android apps. It uses Java or Kotlin, which are not supported by iOS. If you want to create iOS apps, you should use Apple’s Xcode. However, you can try cross-platform tools like Flutter or Kotlin Multiplatform Mobile to build apps for both Android and iOS using shared code. But you’ll still need a Mac to run and test iOS apps.
What is the best way to connect Android apps with MongoDB?
The best way is by using a backend API. Your Android app should never talk to the database directly. Instead, it should send requests to a backend (like one built with Node.js and Express). The backend handles the database and returns data to your app. This keeps your app secure, easy to update, and ready to handle more users in the future.
These questions come up often when developers start working with MongoDB and Android. Keeping things secure, simple, and well-structured will help your project run smoothly.
Final Thoughts
Now that you’ve learned how to use MongoDB in Android Studio, the main point to remember is this: Always use a backend API between your Android app and MongoDB. A direct connection may sound easy, but it can lead to serious problems like data theft, slow performance, and bad user experience. By using a backend, you keep your database safe and your app ready to grow.
If you’re working on a real-world project, consider using MongoDB Atlas. It’s a cloud-based version of MongoDB that is easy to set up, works globally, and supports secure connections. With Atlas, you don’t have to worry about setting up MongoDB on your computer.
Also, if you’re planning to make apps for both Android and iOS, it’s a good idea to look into cross-platform tools. Flutter and Kotlin Multiplatform Mobile let you write one codebase that runs on both platforms. This saves time and effort, especially if you’re working alone or with a small team.
If you found this guide helpful, bookmark it for later or share it with your developer friends. It can save them time and help them avoid common mistakes. Happy coding.

Charles Mata is an experienced app developer and educator, passionate about helping others build powerful mobile applications. He publishes in-depth guides on app development, covering Android Studio, Firebase, Google Play Console, and more. With a practical approach, he simplifies complex coding concepts, making them easy for beginners and advanced developers alike.
Charles also offers a premium website development course, where he teaches step-by-step strategies to build, optimize, and scale websites for success. Whether you’re a beginner looking to learn app development or an entrepreneur wanting to create a website, his expert insights will guide you every step of the way.